Working with Sample Attributes
This tutorial uses the 1,000 Genomes Project to explain how attributes are used within Mosaic. Attributes can be any data that is added to a project or samples, and can be either numeric or textual. For example, the median read coverage attribute is an integer value for each project sample and allows us to visualize the distribution of sequencing coverage across a project. The population attribute is a string indicating the ancestry of a sample, and can be used to generate a pie chart showing how diverse the ancestry of samples in a project is.
NOTE: if you follow the steps in this tutorial for the 1,000 Genomes Project, you will find that many of the options are greyed out. This is a result of user permissions on the project, and you will be listed as a Member on this project. These options will all be available if you have higher permissions on a project.
Viewing available attributes
Mosaic allows attributes to be attached to Projects or to Samples. This tutorial focuses on sample attributes, with project attributes being left for a different tutorial. The sample attributes can be viewed or edited from the Attributes tab above the table on the Samples page.
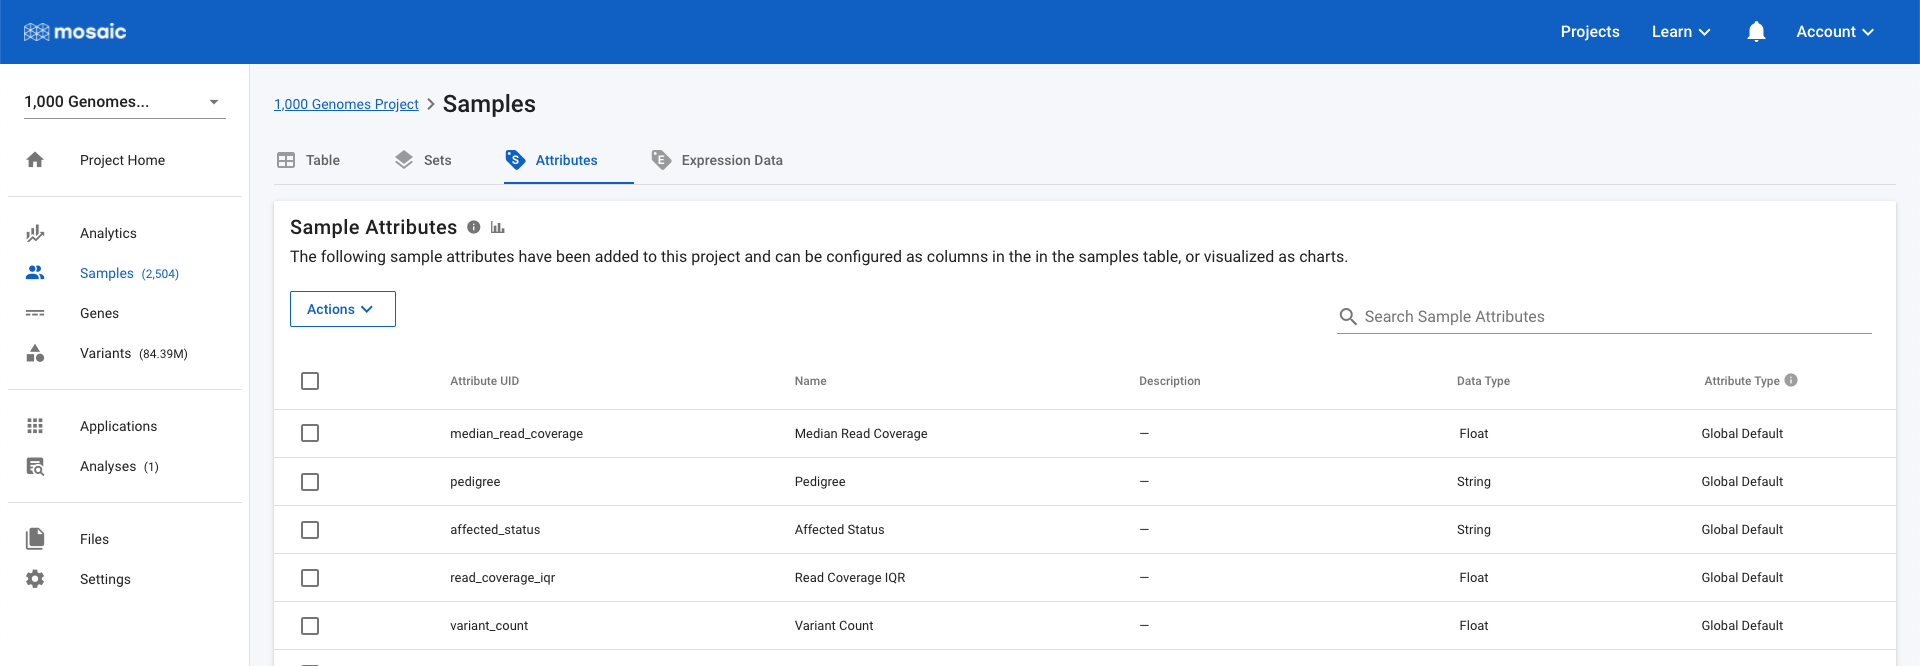
The table shows basic attribute information, including its type. Before we embark on adding new attributes, we need to understand these different types.
Attribute Types
There are three attribute types:
- Global Default attributes are generated by Mosaic and appear in all projects. They cannot be edited.
- Private attributes are user created and are only available in the project they were created in.
- Public attributes are also user created, but can be used in other projects, allowing comparison across projects (e.g. in collections).
Import an Attribute
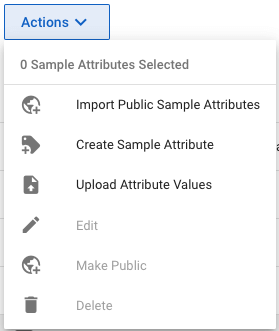
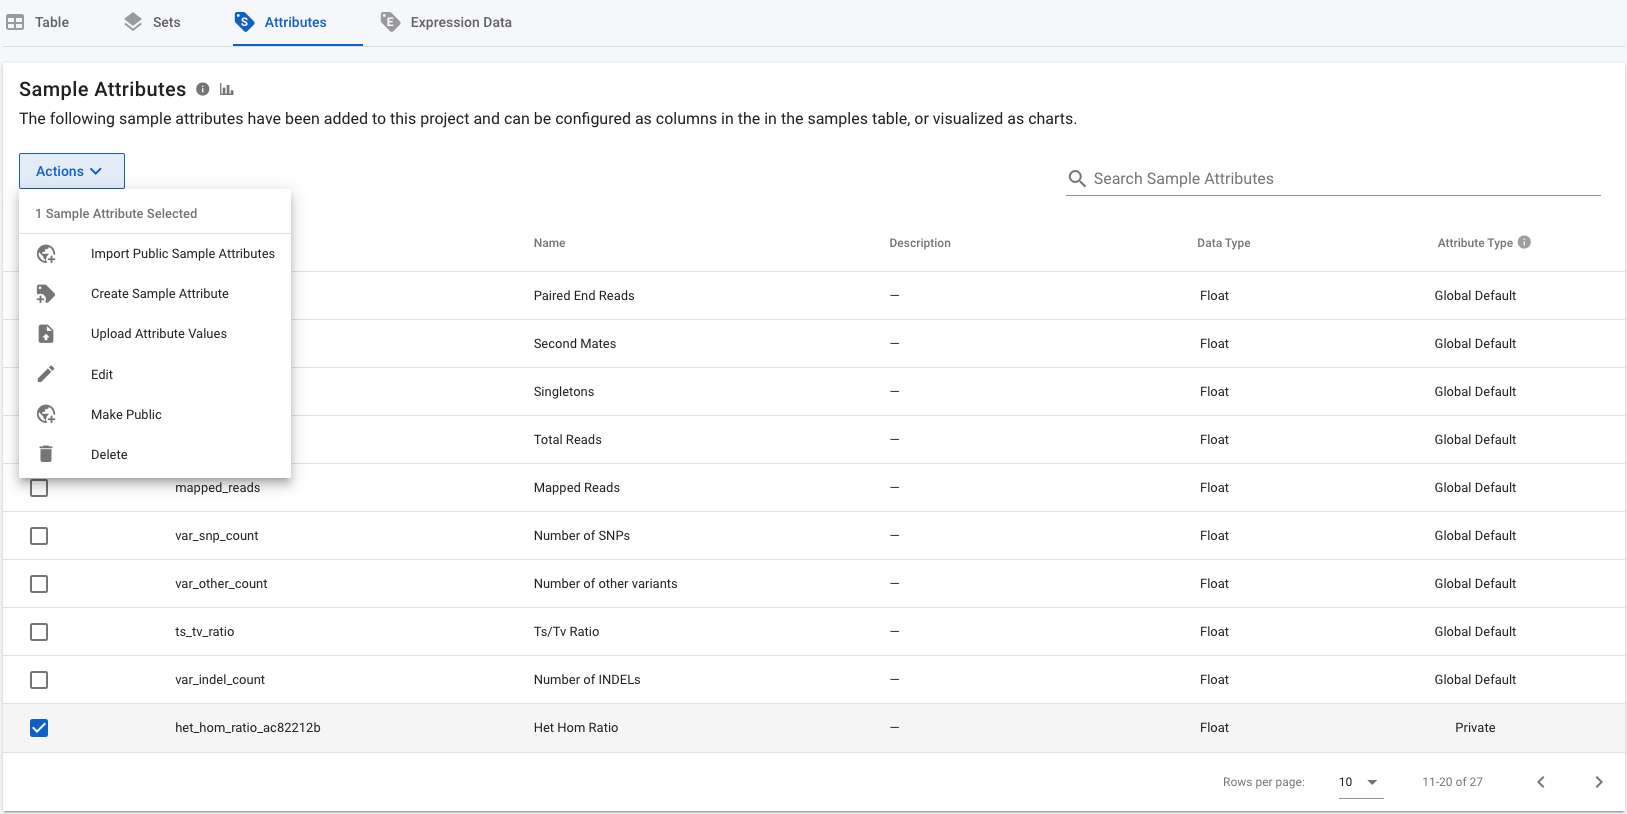
Clicking the Actions button, presents us with a few options.
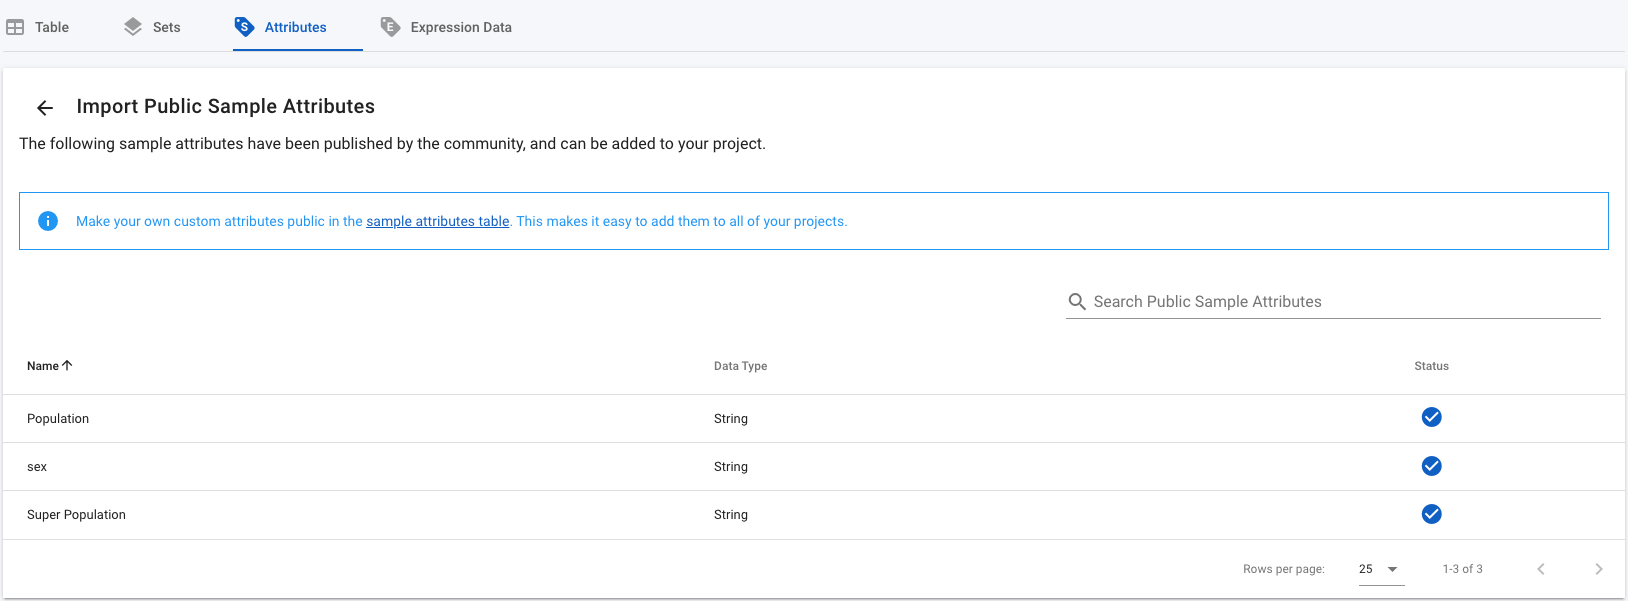
Where possible, we encourage importing public attributes into projects, rather than creating new, project specific ones. This ensures attributes can be compared across projects and avoids confusion with projects having private attributes that appear identical, but cannot be compared. If we select Import Public Sample Attributes into the 1,000 Genomes Project, we see three public attributes are available, all of which are already available in the project.
If we look at the same table for the Platinum Exomes project, we see the same public attributes along with the option to add them to the project.
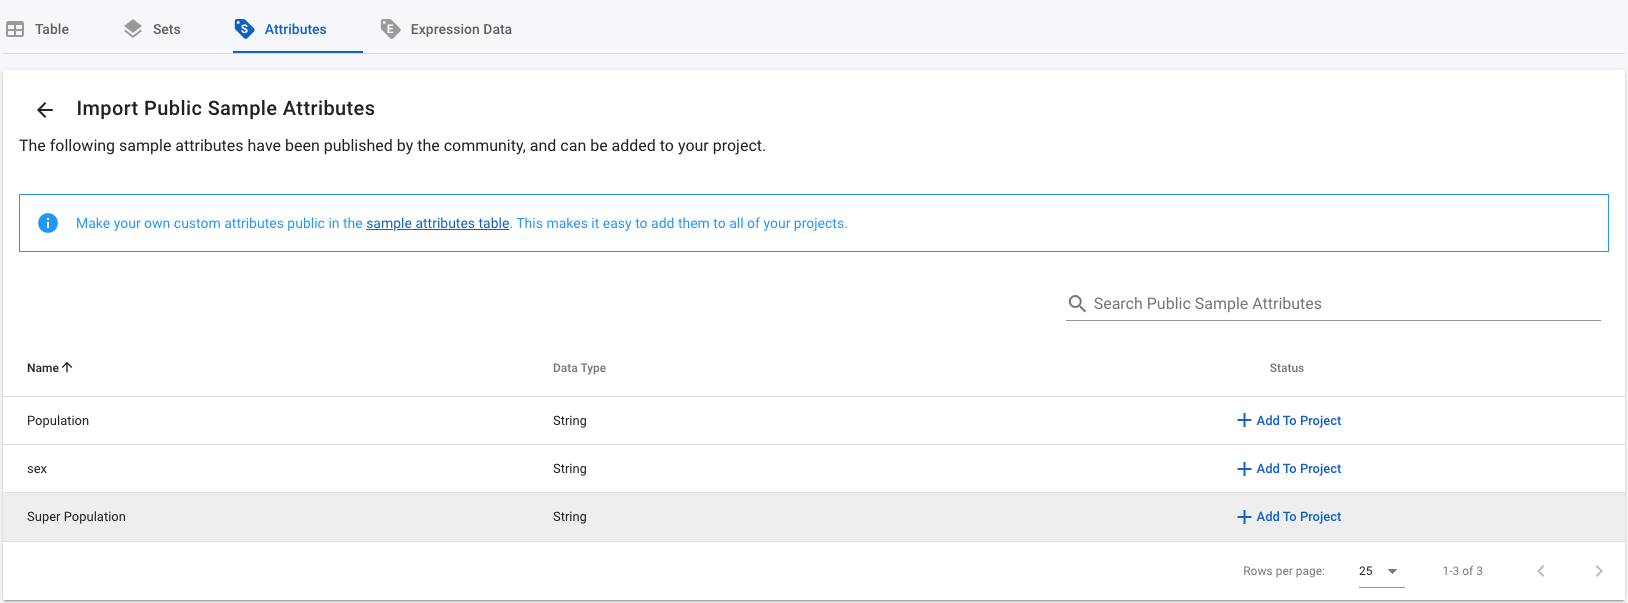
If we click Add to Project, the attribute will immediately be available within the project, and we can add values, view the attribute in the Samples table, or generate charts for this attribute in Analytics.
Create a New Attribute
If we need to create an attribute that is not available as a public attribute, we can create a new attribute from the Actions drop down. We are then prompted to supply a name and type for the attribute, and optionally a description. If we add a numerical attribute, we also need to supply the x-axis and y-axis label that will appear on charts of this attribute.
Edit an Attribute
Global Default attributes cannot be edited, but Public and Private attributes can be, by selecting the attribute and then selecting Edit from the Actions drop down menu.
If the attribute is Public, the Edit and Make Public options will not be available, however, Delete is available and will remove the attribute from this project, but it will still be available in other projects. You can edit the name and description of Private attributes, make them public, or delete them. In the case of Private attributes, deleting them completely removes them from Mosaic.
Now we have attributes in the project, we want to add values to them. We can do this in one of two ways.
Add Values to Individual Samples
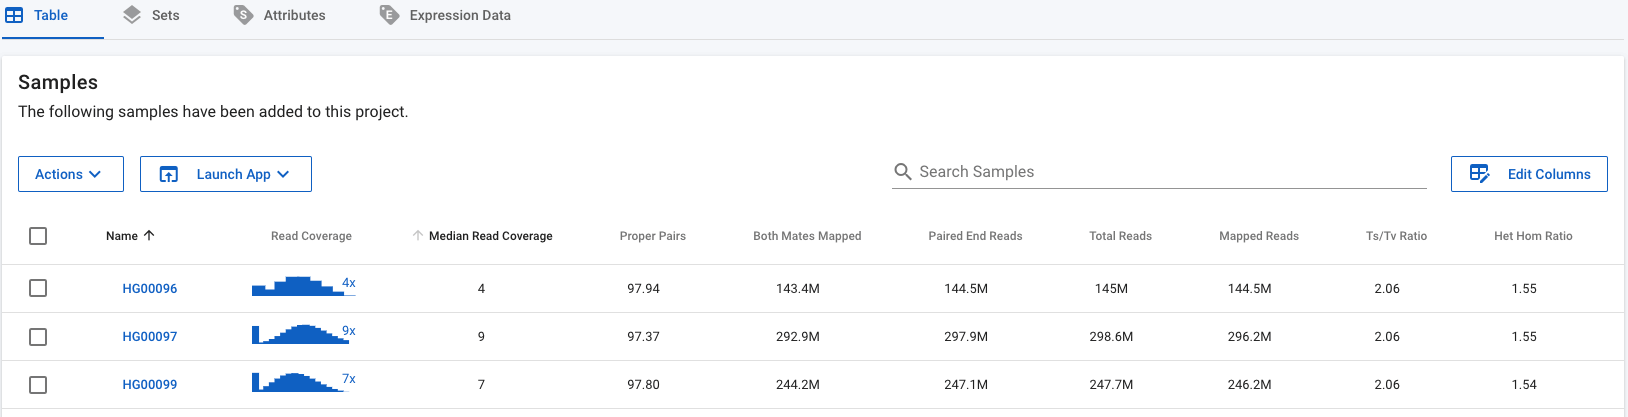
If we return to the Table tab on the Samples page, we can see all the samples as well as some of their attributes. If attributes you want to see are not in the table, you can add them from the Edit Columns button at the top right of the table. If you hover over an attribute in the table (e.g. the Het Hom Ratio attribute in the image below), the edit and delete icons appear (note that these won't appear for Global Default attributes which cannot be edited).
Alternatively, you can click on the sample name, then select the Attributes tab at the top of the Sample page.
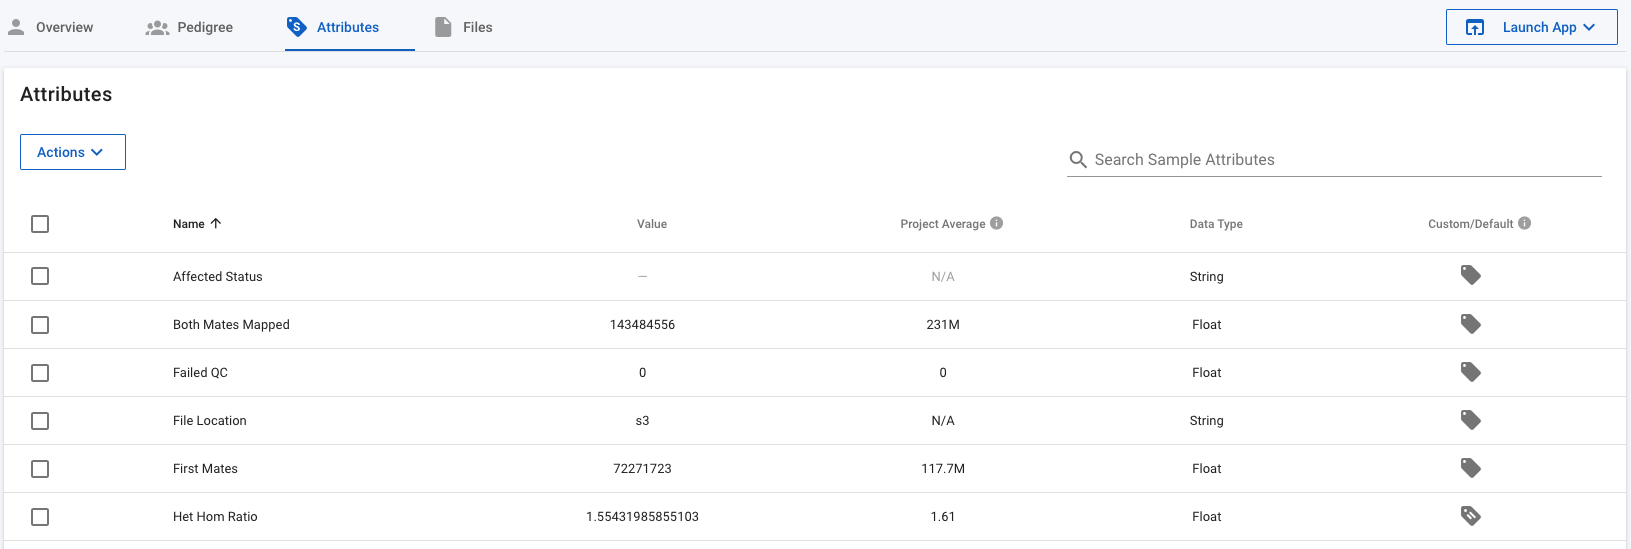
This table lets you see all the attributes available for the sample, and edit or delete the selecting the attribute and clicking Edit from the Actions drop down menu.
Add Values to Multiple Samples
Typically, we want to add values to all (or a subset of) project samples. We can upload a tsv file of values for all the samples and attributes we want. To demonstrate how this works, I created two dummy variables called Test1 and Test2 as described in Create a New Attribute above. We now need a tsv file formatted in the following way:
SAMPLE_NAME attribute1_uid attribute2_uid ...
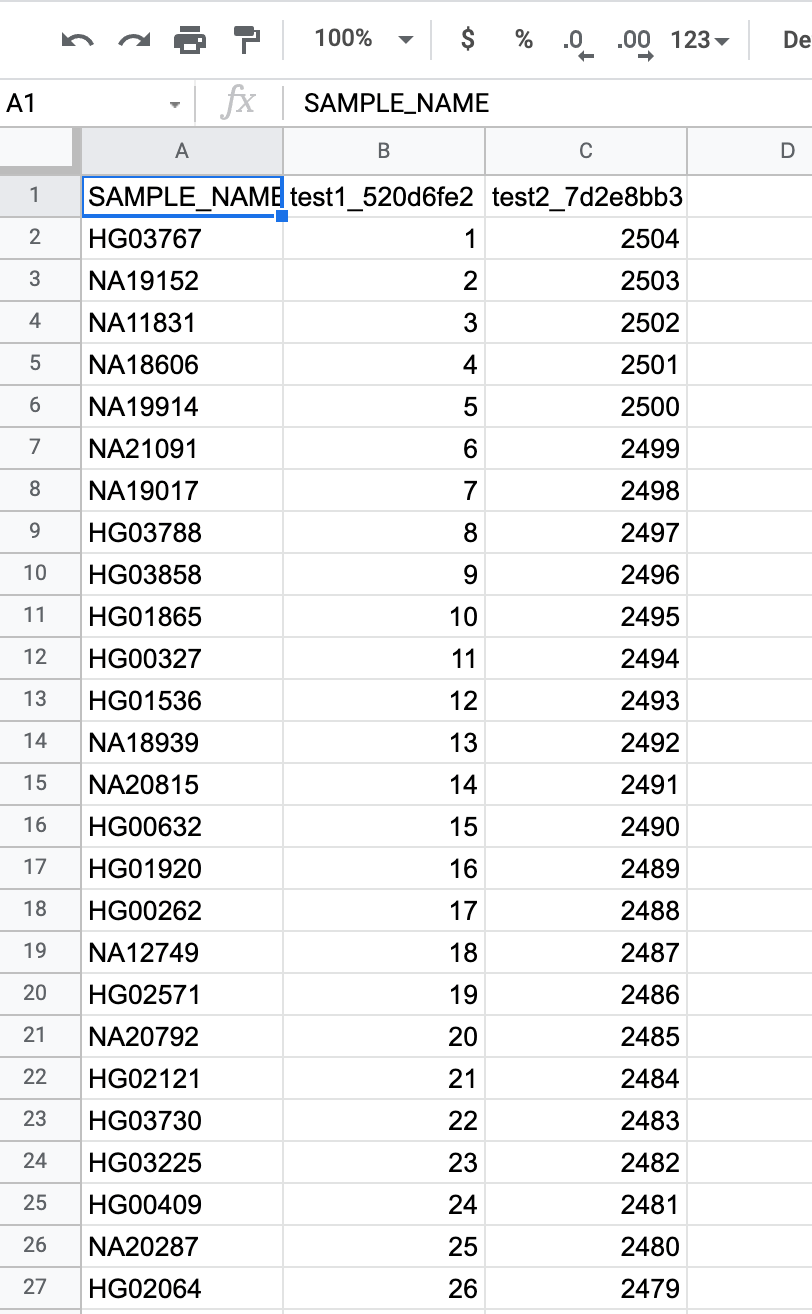
We can include as many columns (i.e. attributes) in the file, all being separated by a tab. The first column title must be SAMPLE_NAME, and every other column needs to be an attribute uid, which can be found in the table of attributes (the first column of text in the screenshot below).

Mosaic can generate this header line for us. On the Attributes page, click the Actions button and select Upload Attribute Values. Then click the Create TSV Header button, and from the resulting form, select all the attributes we want to add values to.
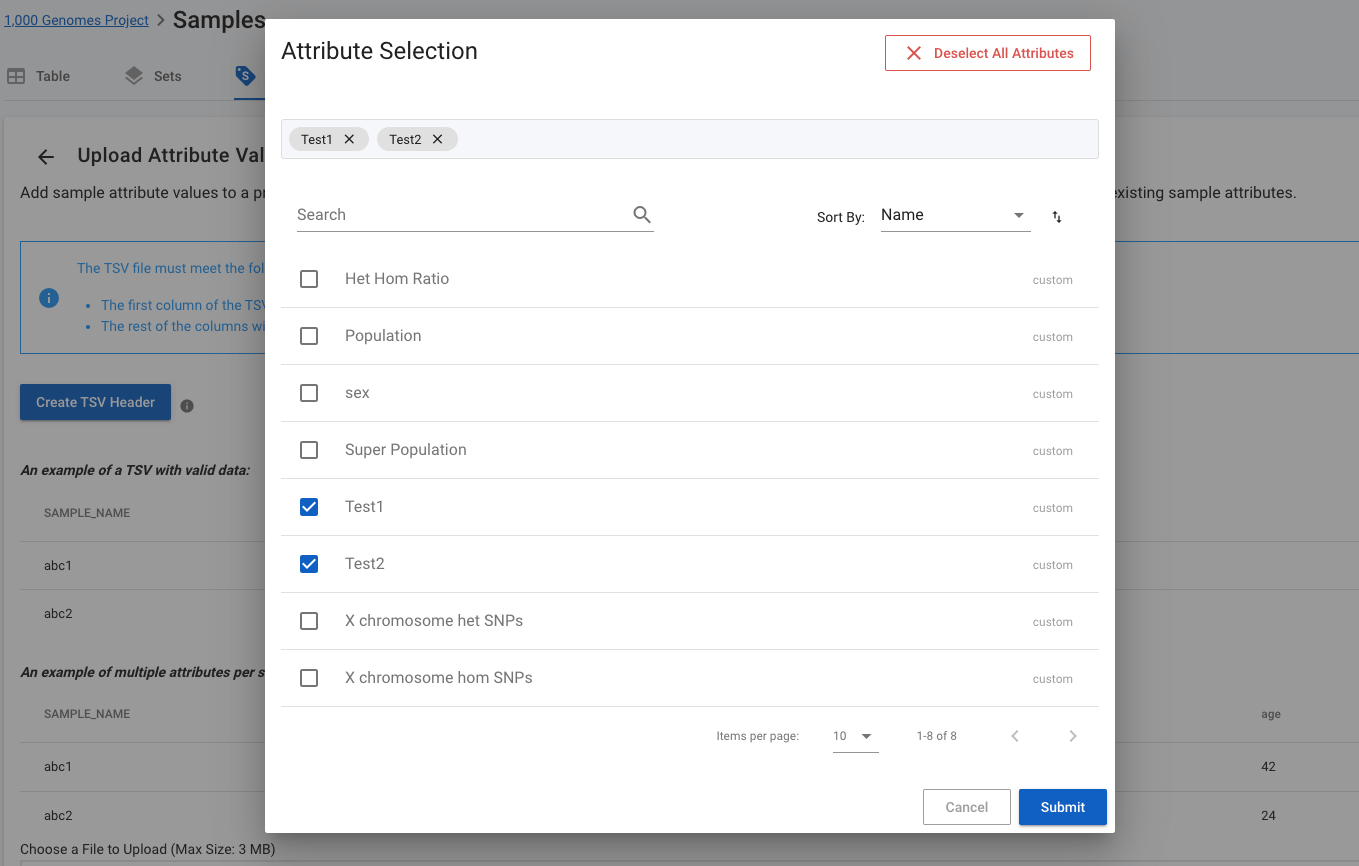
When we click Submit, a header line is created for us which we can copy, or download as a tsv file. All we have to do now is edit this file to add a row for each sample. We can do this using manual text editors, or copying the header line into tools like Excel / Google Sheets where we have attribute values stored.

We can export a list of all sample names, or a subset of sample names based on user applied filters. For this example, I created a spreadsheet using the exported samples names as the first column, and the exported header line as the first row. I then added random attribute values for each sample and saved this as a tsv file.
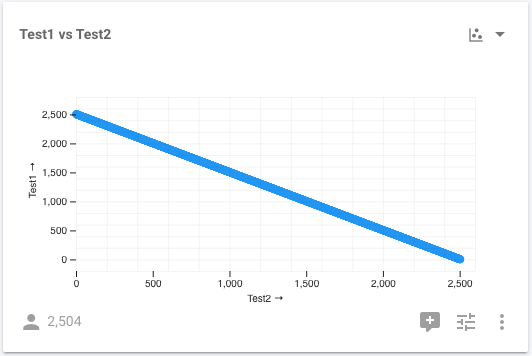
We can now upload this tsv file from the Upload Attribute Values page. Click the grey box at the bottom of the page, select the tsv just created, then click the Upload and Submit button. You will receive a notification that the tsv file has been successfully processed, and the new attributes will be available to display in the Samples table (via the Edit Columns button above the top right of the table), or as charts in Analytics. For example, this is a plot of Test1 vs Test2:
We'd love to hear your thoughts on using attributes with your projects, so would encourage you to share your opinions with us at info@frameshift.io.