Pinning Attributes
Why is it useful to "pin" attributes
Many attributes in a project are of an importance that it is really useful to have them visible to all users without having to navigate to the Project Attributes page. Pinning attributes allows these attributes to be attached to the Project Home pages in a highly visible manner
How to pin a project attribute
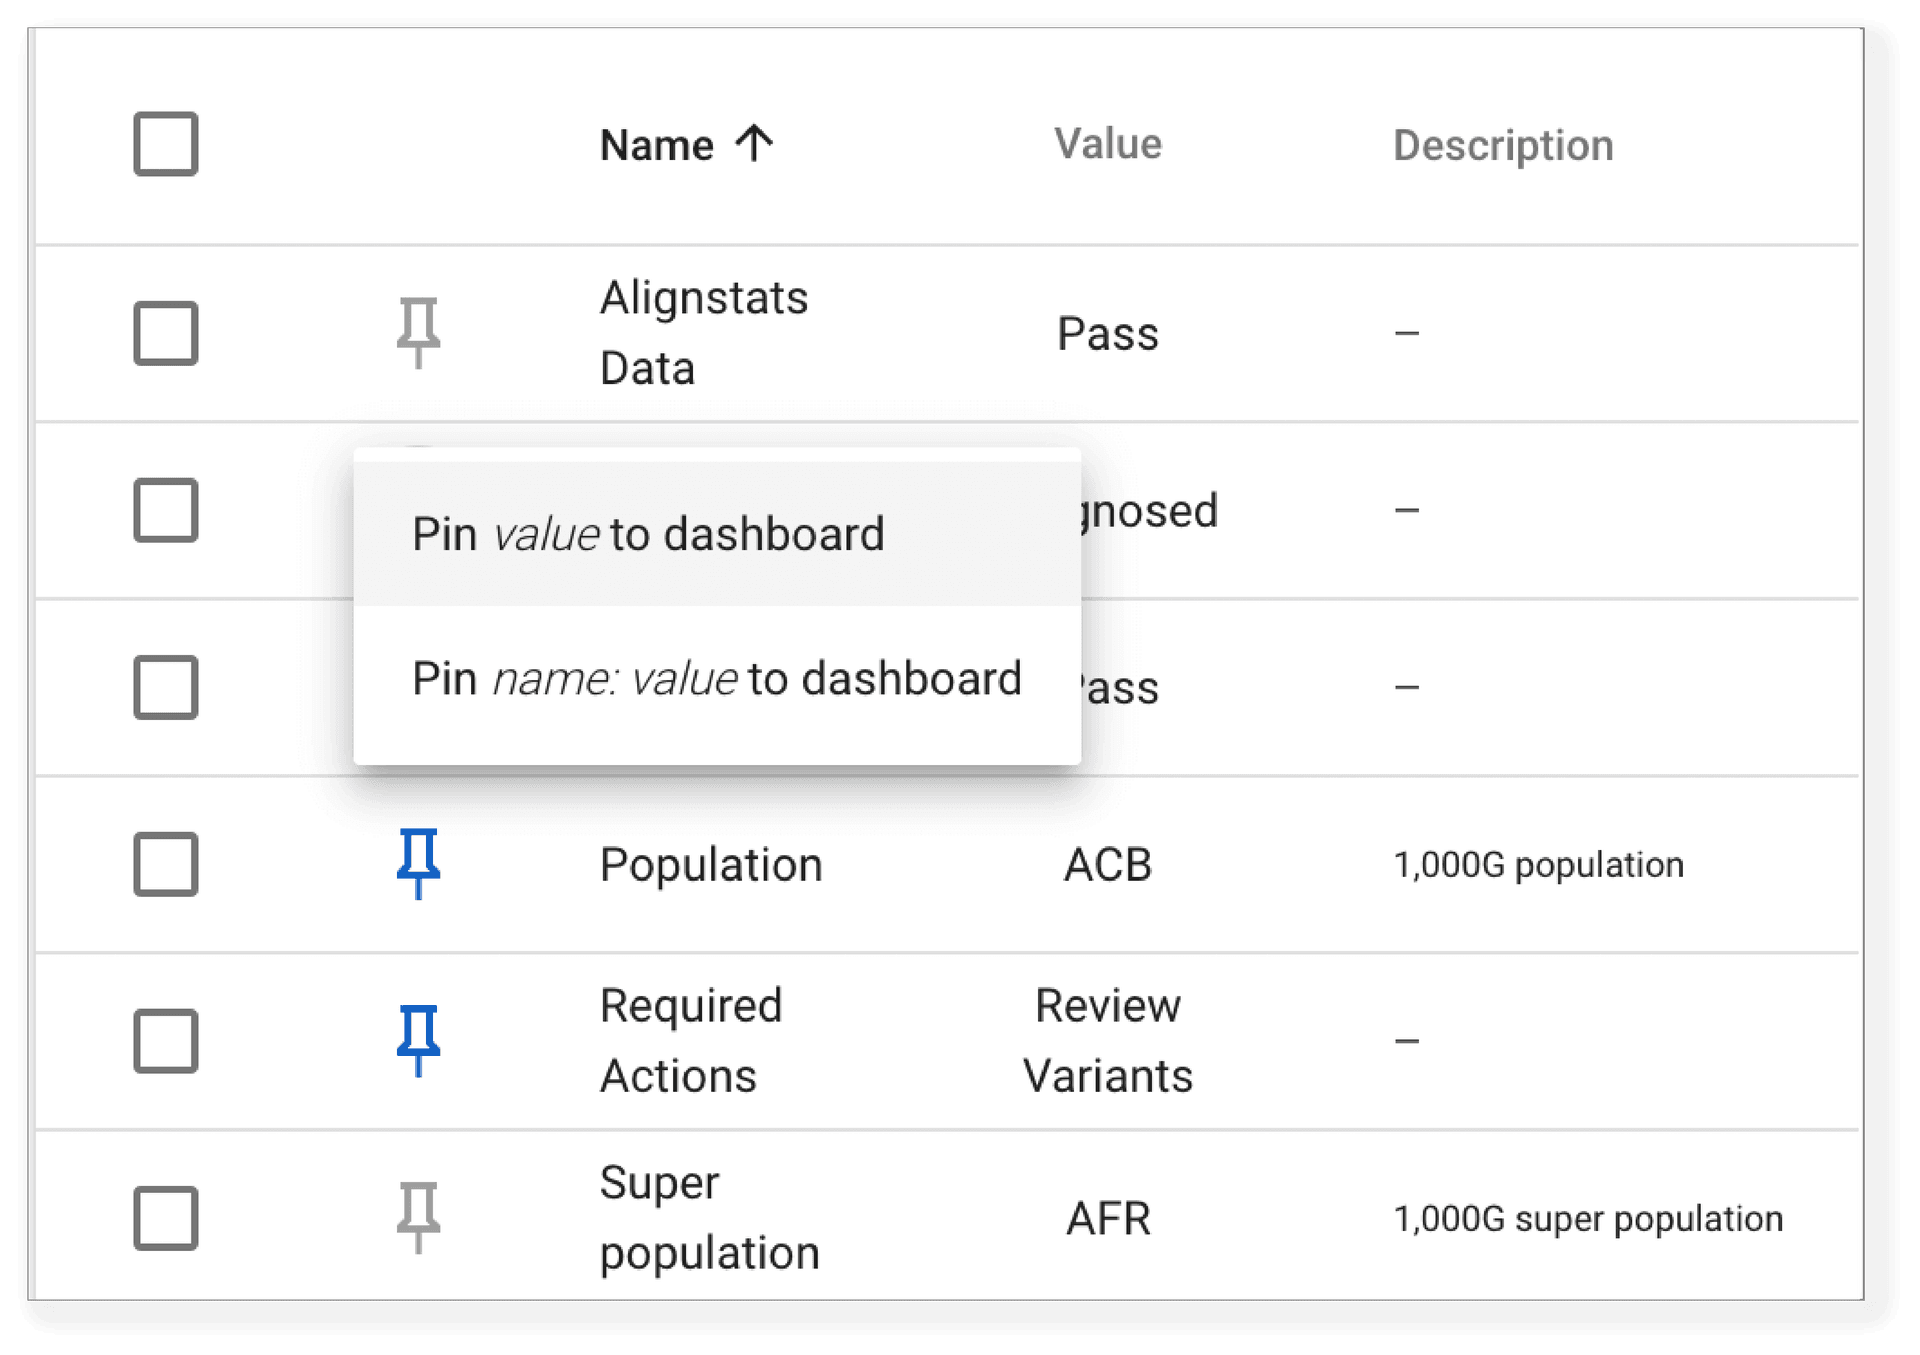
To pin a project attribute, navigate to the Project Attributes tab on the Project Home page. Here, you will see a table of all project attributes associated with the project. You can click the check box next to any attribute and then select Pin to Dashboard from the Actions button, but the easier option is to click the pin icon next to the attribute of choice. You will be asked to choose from one of the following options: "Pin value to dashboard", or "Pin name:value to dashboard".

If you select "Pin value to dashboard", a coloured badge will appear at the top of the dashboard containing the attribute value. For some project attributes, the value alone may not be informative. For example, in the image below, the Required Actions attribute is pinned. If there are no actions for the project, the attribute value would be None. Seeing None as a badge would be of limited use without knowing the attribute with which the value is associated. For any attributes where the attribute name would be useful to see, select the "Pin name:value to dashboard".
In the image below, you can see examples of these two cases. The Required Actions, and Diagnostic Status attributes were pinned using the name:value option and the Population attribute was pinned using the value option, so only the value (ACB) is visible
